Day 4 started with some announcements made by the facilitator of the workshop, who informed the participants that the workshop certificate will be given to them during a ceremony to be held on 27th July 2012 at 14:00, together with the second batch who will be trained from 23-27 July 2012.
The participants had an assignment to do for Day 4, which was to create a blog post on their experience at the Web 2.0 Learning Opportunity. All of them did their homework and some of them really impressed the trainers! Please find below the Links to the newly created blogs by the workshop participants:
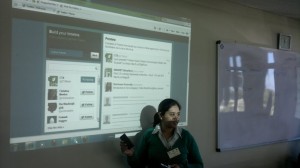
Micro-blogging was introduced to the participants through a presentation and video. Twitter was used as example of micro-blogging. Some participants already had a Twitter account, but most of them did not know the importance and power of using this tool. An existing Twitter account was shown to the participants and they were amazed to discover how many things one can do on Twitter to be up to date with latest news on our subject of interest.
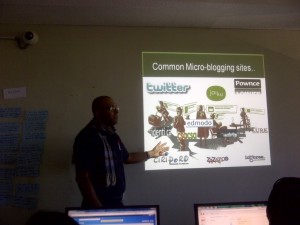 |
| Trainer giving examples of micro-blogging sites |
A volunteer, who did not have a Twitter account came forward and together with the other participants, a Twitter account was created. The facilitators made sure that all participants were moving at the same pace so that they are not lost in the process. Tips were given to participants on how to choose their Twitter handle and write their Bio.
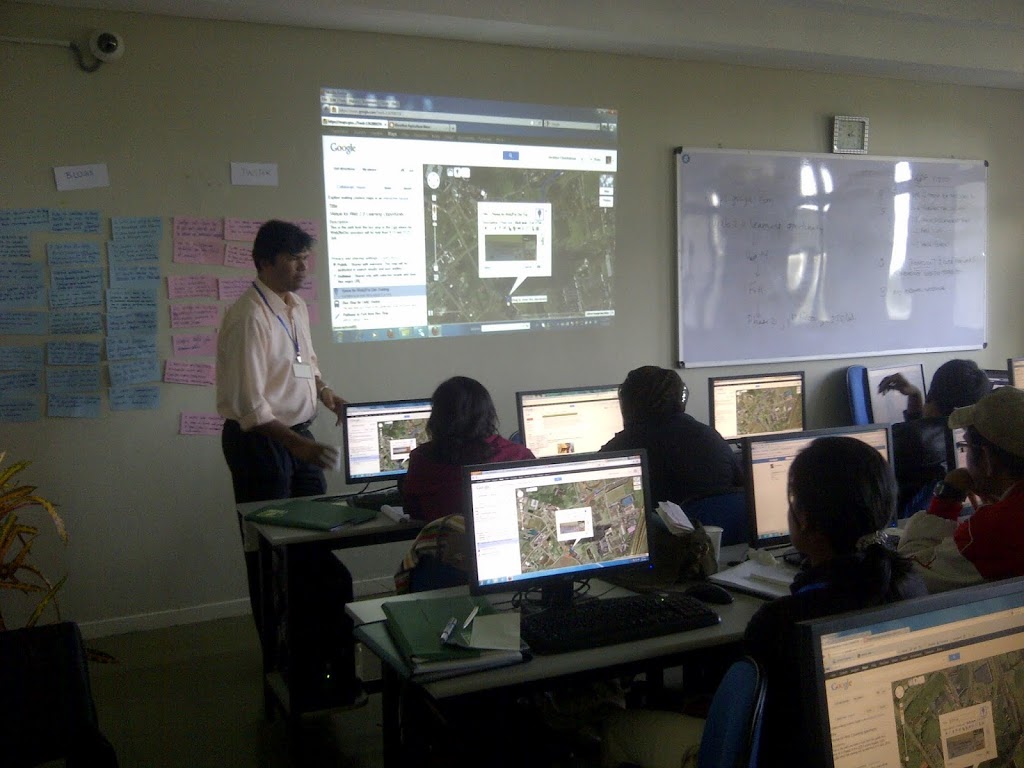
Another very interesting session for Day 4 was Google Maps. A presentation on Google Maps was delivered by one of the facilitators to explain the concept of Google Maps.
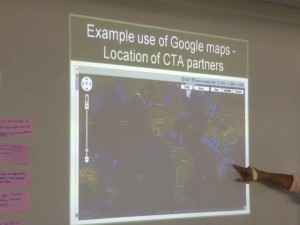 |
| Presentation on Google Maps |
It was quite a lengthy session with some exercises. Before starting with the exercises and giving examples, participants were given some time to get used to the interface of Google Maps and try to drag the different places with their mouse. When this was understood, the facilitator went forward with the practical part.
In the first exercise, participants were shown how the direction from one place to another one can be obtained on Google Maps, and also the distance and time taken for the proposed routes by the means selected (walk, car etc.) is provided.
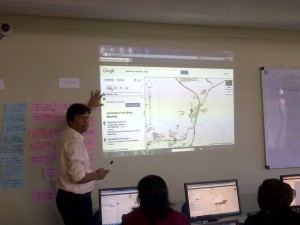 |
| First exercise on Google Maps |
The the next exercise which was a very interesting one, participants were asked to create a map, where there are directions on how to come to the Web 2.0 Learning Opportunity at the Faculty of agriculture in Reduit. In this exercise, each participant created a map. After having located the University of Mauritius on the map, the following were done:
- Put a placemark on the bus-stop at the University of Mauritius and they also named it and added a description
- Put a placemark at the Venue, which is the Faculty of agriculture and described it, with a text and also added a picture to it
- Using Lines, a trail was made from the Bus-Stop to the venue
- Using shapes, The cafeteria of the university was highlighted, which had a text and video as description
An example of a participant’s Google map that was created can be accessed by clicking HERE.
Participants were amazed by what they could do with Google Maps!
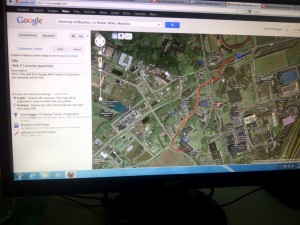 |
| Second exercise on Google Maps for indicating direction to a venue |
After this session, as usual, the participants wrote on meta cards and also on the democracy wall. Day 4 was one where the participants had a lot to practice, but they also discovered a learnt many features on Twitter and Google Maps!
I feel really nice reading these articles I mean there are writers that can write good material.
Esocial Marks